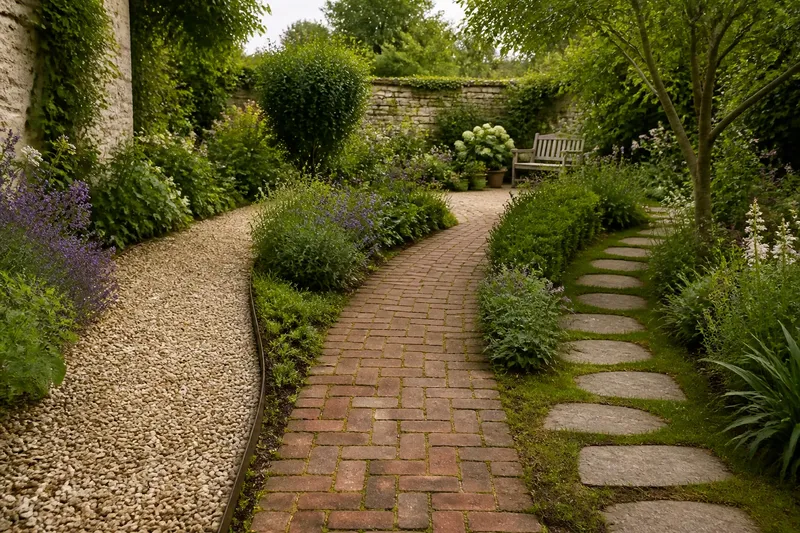
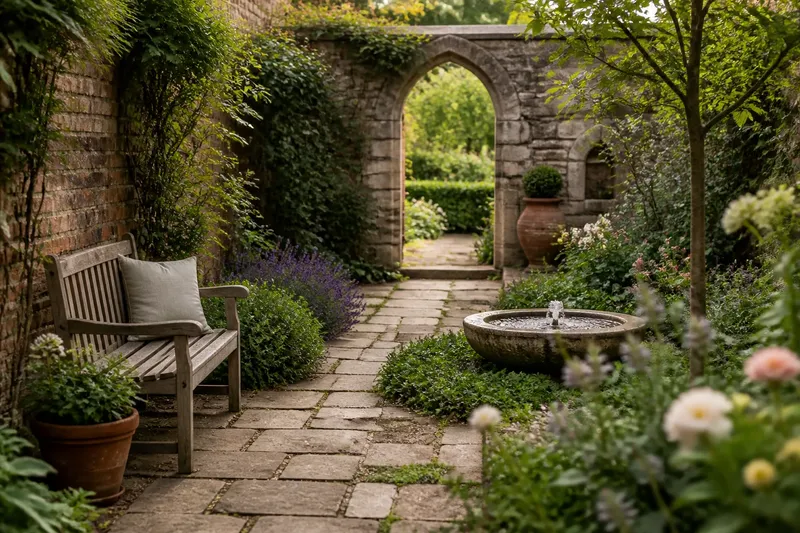
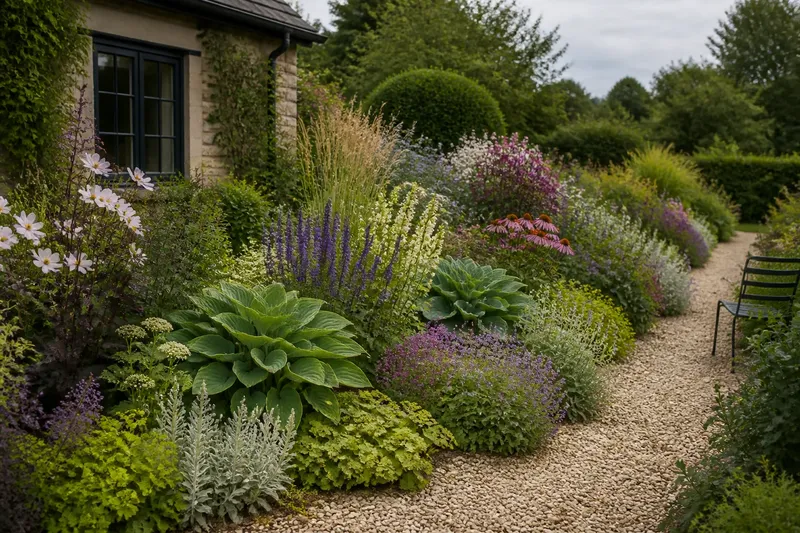
Why a Curving Path Changes the View
A curving garden path changes the view by revealing borders, focal points, and quiet pauses in sequence. Plan its sightlines before setting the route.
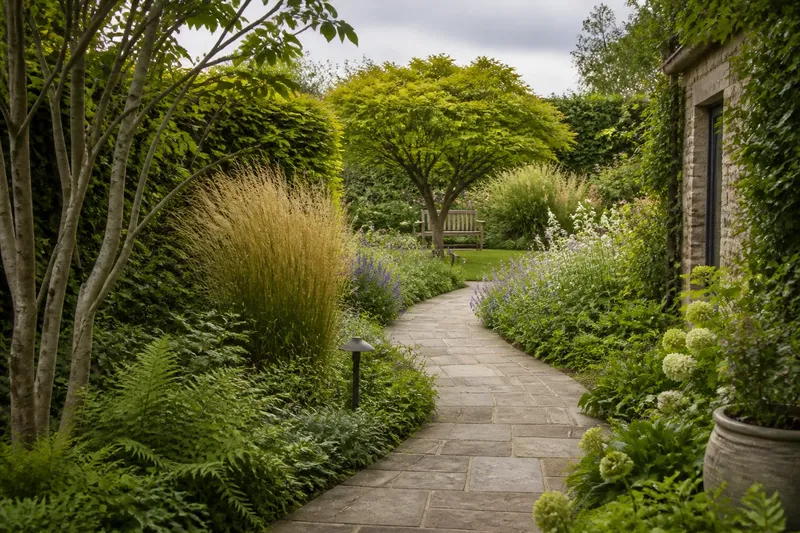
Where should a garden path bend so it reveals more than a strip of paving? A curving garden path changes the view by controlling what you can see from each approach, turning a walk into a sequence of partial glimpses and clear arrivals. Plan the sightlines first; the route should follow the views you want to reveal, not curve for its own sake.
Choose the view sequence
Start by standing at the place where someone will enter the garden. Look toward the main destination, such as a bench, a small tree, or a doorway. Note what already draws the eye, and what you would prefer to keep out of the first view: a shed wall, a utility area, or the full length of a narrow border.
Then walk toward the destination in a straight line. Notice where the view feels too exposed, where a plant or structure naturally interrupts it, and where something appealing could appear beyond an obstruction. These observations give each bend a purpose. A curve might conceal the destination briefly, shift attention toward a side planting, or open a longer view at the right moment.
Keep a simple sketch or take reference photos from standing eye level. Mark the entry, destination, existing trees and structures, and any view you want to preserve. A garden path is a little like opening a book at a folded corner: the next scene should come into view gradually, not all at once.
Read the route on site
During the first day, walk the proposed route in both directions. A curve that feels inviting on the way in may hide the exit or make the return walk seem awkward. Pause at likely turning points and look around from a normal standing position rather than judging the plan only from above.
Use a garden hose or a loose rope to mark a possible centerline. Keep it temporary so you can adjust it without disturbing the ground. Walk the line, then shift the hose until the path feels comfortable and the views change in a deliberate order. The curve should be gentle enough to read as a route, not an unexplained detour.
Notice where the path meets existing features. A bend beside a tree can make its trunk a near view and frame a more distant feature beyond it. A curve near a hedge may screen a service area while leaving room for a view across the garden. Avoid placing a turn where it points directly at an uninteresting wall or ends with no visual destination.
Set the reveals
Once the route is marked, identify three kinds of sightline: what is visible from the entrance, what appears during the walk, and what becomes clear near the destination. You do not need a different focal point at every turn. A few well-timed changes are easier to understand than a string of competing objects.
- At the entrance: Decide whether the destination should be visible, partly screened, or absent from the initial view.
- Before the first bend: Keep enough of the route visible to make the direction legible.
- Beyond the bend: Choose one feature to emerge, such as a flowering shrub, a gate, or a seat.
- Near the destination: Check that the route opens toward the place to pause rather than turning away from it.
- On the return: Look for a worthwhile view back toward the house or garden entrance.
Say you have a narrow lawn between a kitchen door and a bench beside a small ornamental tree. If the bench is visible from the door, you might mark a gentle curve that screens it briefly behind a clump of tall grasses, then reveals the tree before the bench. The expected observable result is a first view of the planting, followed by a clearer sense of the destination as you approach. Adjust the grasses or route if they conceal the path itself.
Make a week of small decisions
Use the first day to record the views and choose a destination. On the second day, mark the route with a hose and walk it from both ends. On the third, shift the bends and check whether each one changes the view in a useful way.
On the fourth day, inspect the route at different times when light and shadows change. A low sun can make a screen more transparent or throw a distracting shadow across a focal point. On the fifth, stand at each planned turning point and check the next visible feature. Use the sixth day to consider maintenance access and how the route connects to nearby doors or garden areas. On the seventh, review the arrangement as a whole and make a final sketch before choosing materials or beginning any installation.
This is a planning routine, not a requirement to build in a week. If the garden is busy or the views are hard to read, leave the markers in place longer and observe them during ordinary use. The extra time can expose a sightline that matters in daily life, such as a direct view from a kitchen window.
Questions about sightlines?
How much should a path curve?
Use only as much bend as the views need. If the route seems to wander without revealing or framing anything, simplify it; if the destination appears too abruptly, a gentle shift may create a more gradual arrival.
Should the destination be hidden?
Not necessarily. A partially visible bench or gate can help visitors understand where the route leads, while a complete screen can create a stronger reveal. Choose the degree of concealment that suits the garden’s size and how people use it.
How can I check a view before planting?
Stand at the planned positions and use temporary markers such as garden stakes or lightweight canes to suggest the height and location of a screen. View the arrangement from the entrance and along the route, then move the markers until the foreground and distant features balance.
What if the garden is too small for a long curve?
A slight change of direction can still alter what comes into view. A path might pass a planter or low screen before opening toward a doorway, giving a compact space a clear sequence without forcing an oversized loop.
Check the view in both directions
Before settling the design, walk the proposed route at an unhurried pace and pause at each turn. Check that the next section is understandable, the destination feels connected to the path, and the return view has its own interest. A curve earns its place when it improves that sequence rather than merely adding length.
For a curving garden path, the useful final question is not how dramatic the route looks on a plan, but what each turn lets you notice. Keep the bends that frame a view, soften an unwanted one, or make the destination feel newly discovered. If a turn does none of those things, straighten it and let the garden’s existing features carry the scene.